Creating categories and subcategories
NABD allows you to create specific categories and subcategories to help
organize cases when setting up your case routing and SLA rules.
The categories you define can be anything that you need – product lines, clients, etc. Create
whatever helps you organize the incoming questions, issues, and comments
from your customers.
Within each category, you can create as many subcategories as you need.
Setting up subcategories is really helpful if your categories are made
up of a large number of products/services. Subcategories will allow your
case routing to be as fine-tuned as possible.
To create
case categories:
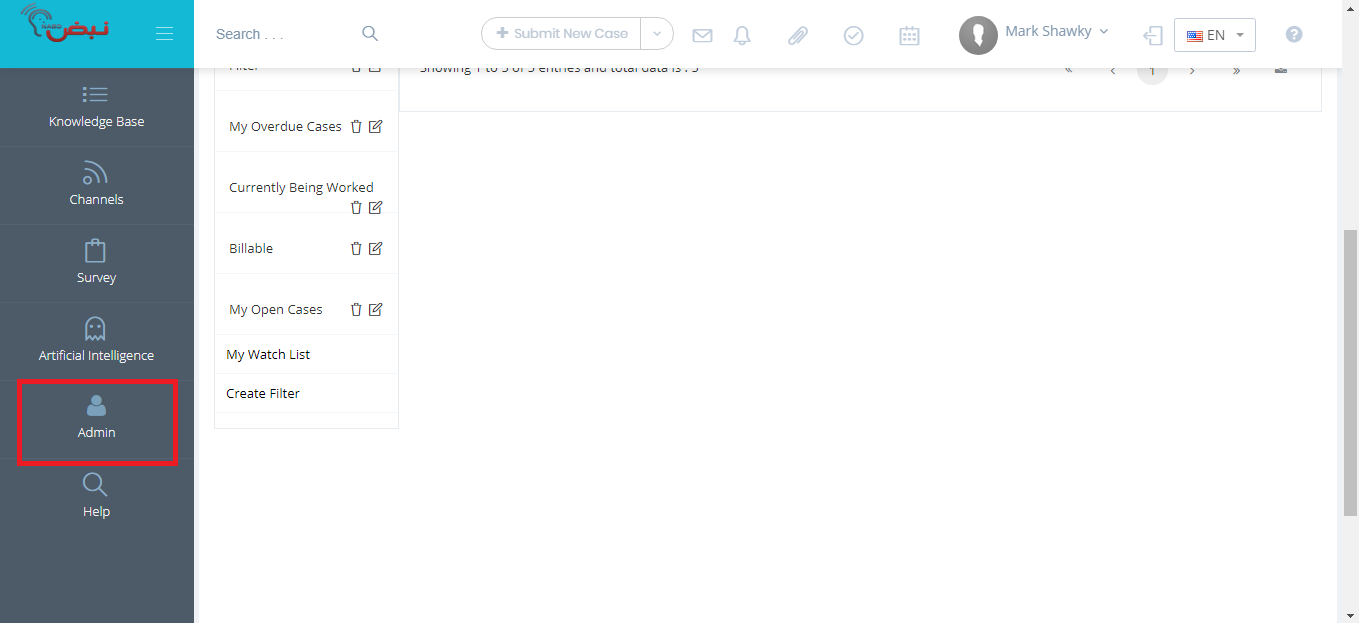
From your left main menu, select Admin.
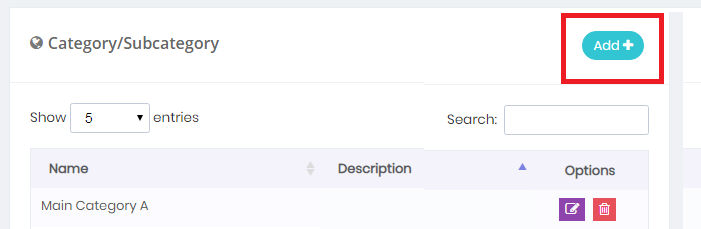
From the Admin Panel, select Category/Subcategory.

On the Category/Subcategory page, click Add.
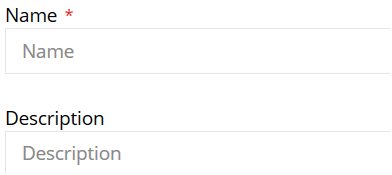
Type the category name and if appropriate, provide
a brief description. Adding a description is a good idea if you are
using multiple categories –
especially if the categories have similar names.
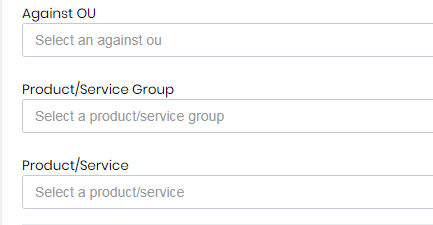
You can link organizations
,product/service groups and
products/services with the category.
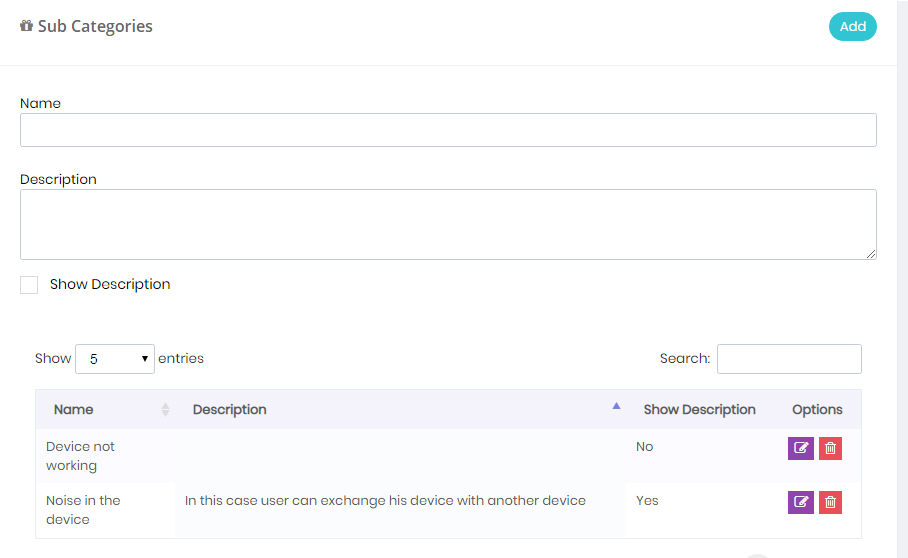
If you want to display description
for each subcategory in Edit case screen check "show description"
and enter description in the text area during add subcategories.