If you send letters and other correspondence to your customers, NABD allows you to create customized templates in Microsoft Word and HTML.
Setting up a template is easy. First create a new document and type in the standard text that you want to always appear (e.g., the body of the letter). Then insert a placeholder where you want the customized information (customer name, case ID, etc.). Once you save and upload the document to NABD, you'll tell NABD what customized data to insert in each placeholder. When you're finished, the template is available for use in NABD's Sending correspondence feature.
Customized information can include:
To create a word/HTML template:
Open a new Word document and create your letter template.
Type the standard text you want to appear in this template. Make sure you select any formatting that you want to use (including styles, graphics, etc.).
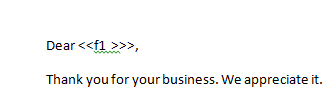
Indicate where you want custom information to appear in your letter template (such as client name, case number, product/service, etc.). Just insert a placeholder in your Word document where you want the custom information to appear (<< >>). You'll need to insert a "code" in that placeholder to represent the information you want to include (in the example below, f1 is the code).
Once you upload this file to NABD, you'll tell NABD what information you want to insert in place of the code (in the example below, f1 represents the client's name).
Save and then close your document. Remember to do a spell check before closing the document.
From your left NABD main menu, select Correspondence templates.
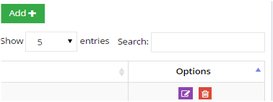
Click Add (upper right side of page).
On the Correspondence Templates page, type a name for your template. You can also add a description. Keep in mind a description is helpful if you are planning to create and use multiple templates.

Select Load file.

In the file path field, click  to upload the word file you just created. Click OK.

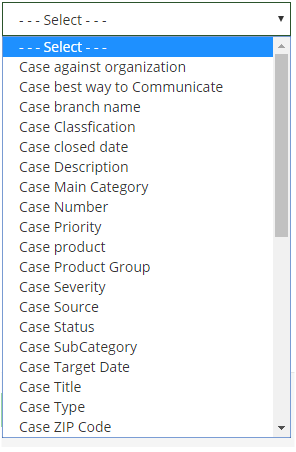
To the right of Custom fields, type a code between the << >>. Then select the information you want to appear in the template from the drop down to the right. In the sample below, the Customer Name will appear where <<f1>> appears in the Template text field. Click Add when you are finished adding custom fields.

When you're done, click Save and close.
This template is now available for use and you can select it when sending correspondence.